How to use Travla
Six steps to go from a TikTok or a Reel to an organised trip. The button names are the ones you see in the app.
Step 1
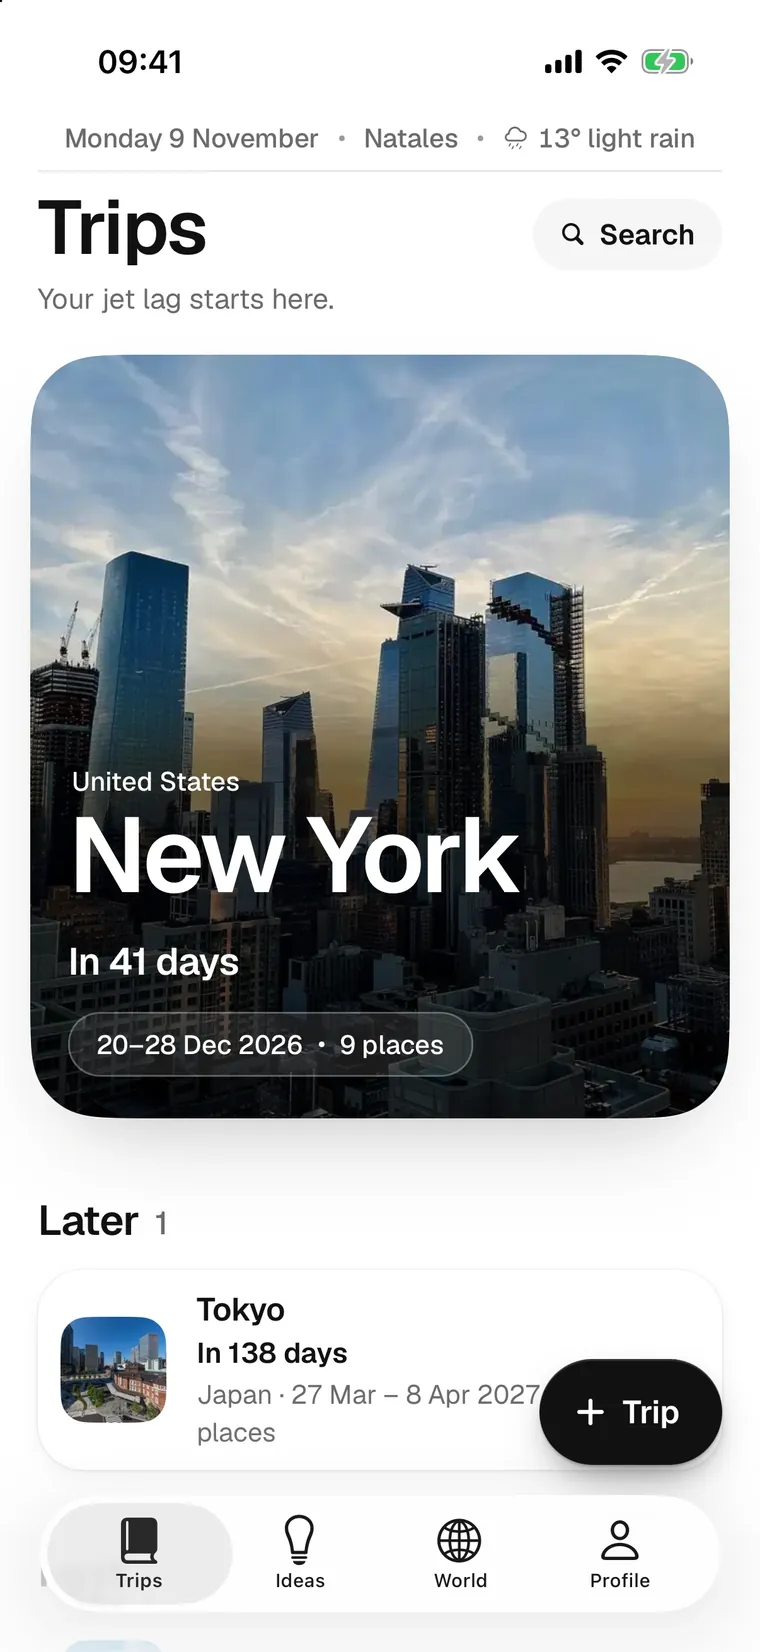
Create your trip
In the Trips tab, tap “+ Trip”. Pick the destination and the dates. Your trip appears large on the home screen, with the countdown to departure.
No dates yet? Create it anyway, you can add them later.
Step 2
Keep a TikTok or a Reel
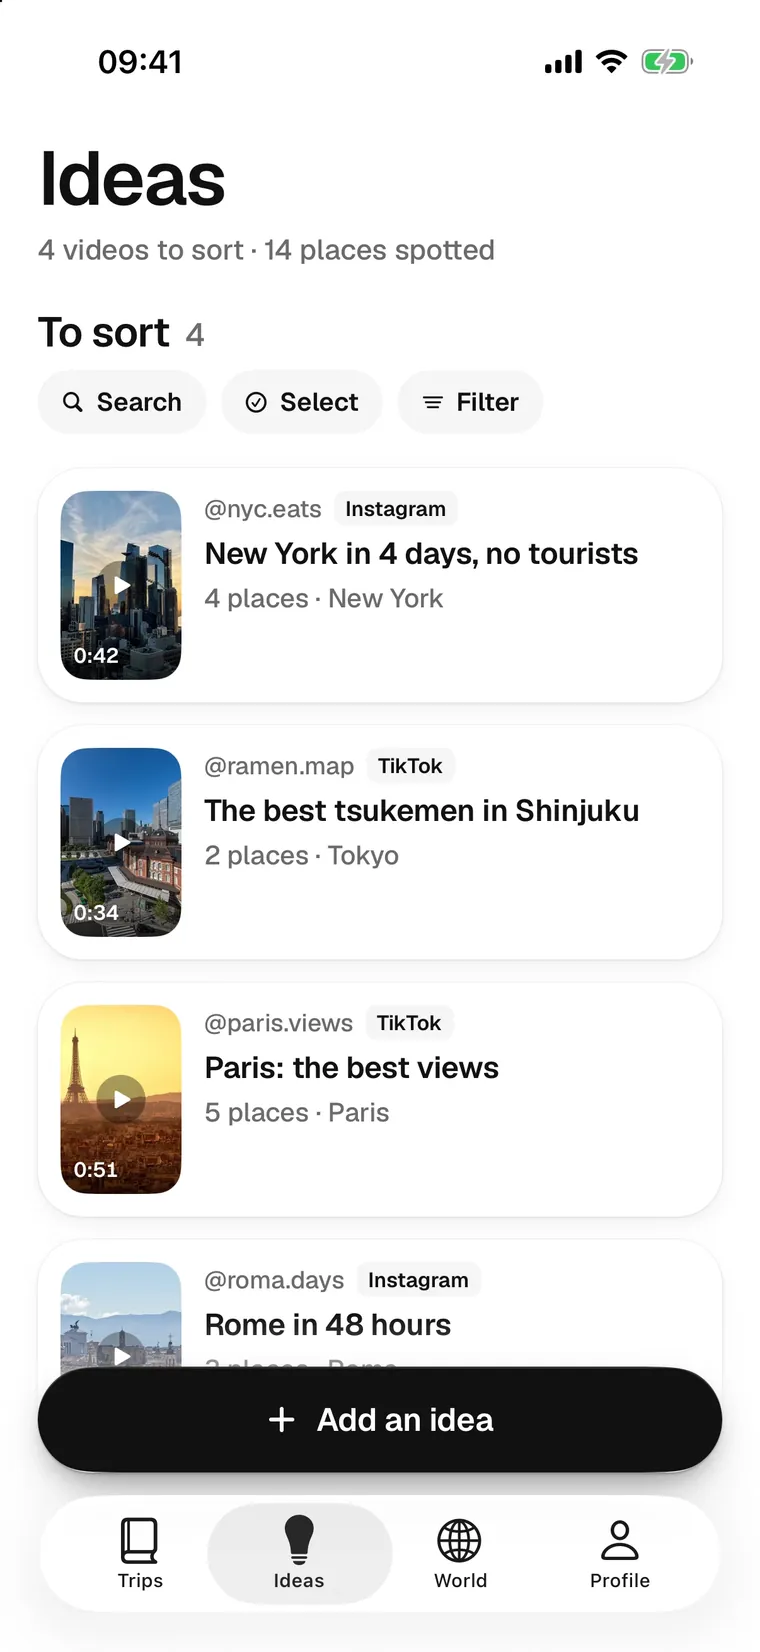
Under a TikTok, an Instagram Reel or a Pinterest pin, tap Share, then Travla. The post lands in the Ideas tab, in “To sort”, with the places the AI spotted in it.
Travla doesn’t show up in the share sheet? Scroll the row of apps to More and add it. You can also paste a link with “Add an idea”.
Step 3
Keep the places you like
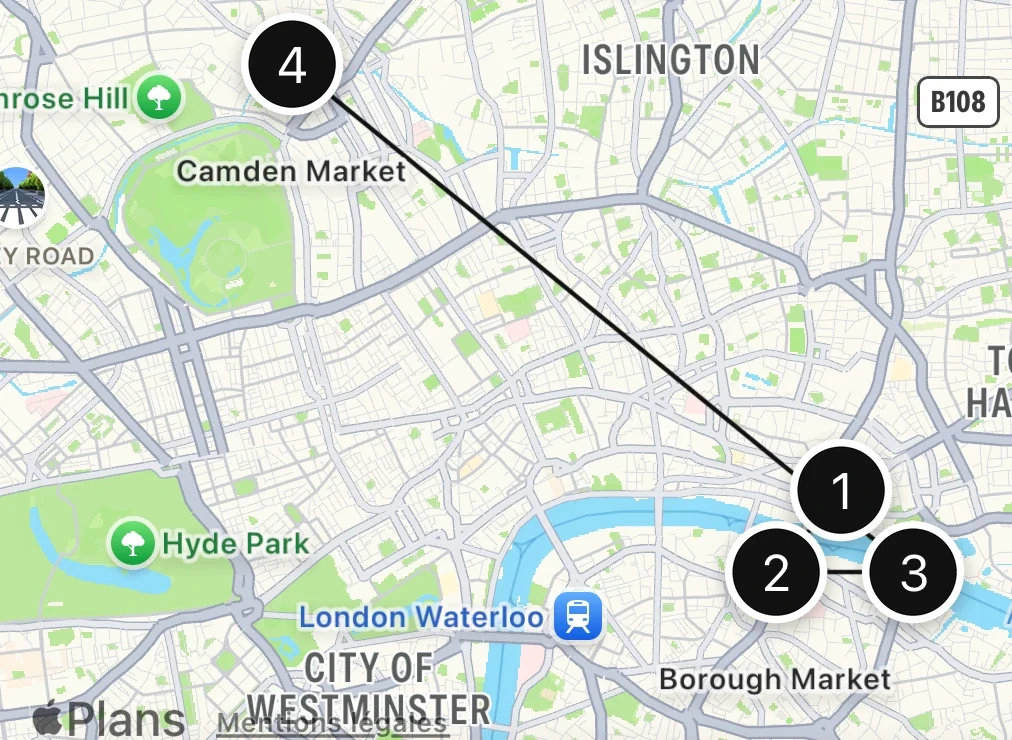
Open the idea: the AI pins the places on a numbered map. Keep the ones you want and file them in your trip. A place is missing? In the trip, Places tab, tap “Add a place”.
If the caption mentions no place, use a screenshot or add the place by hand.
Step 4
Put your places on the days
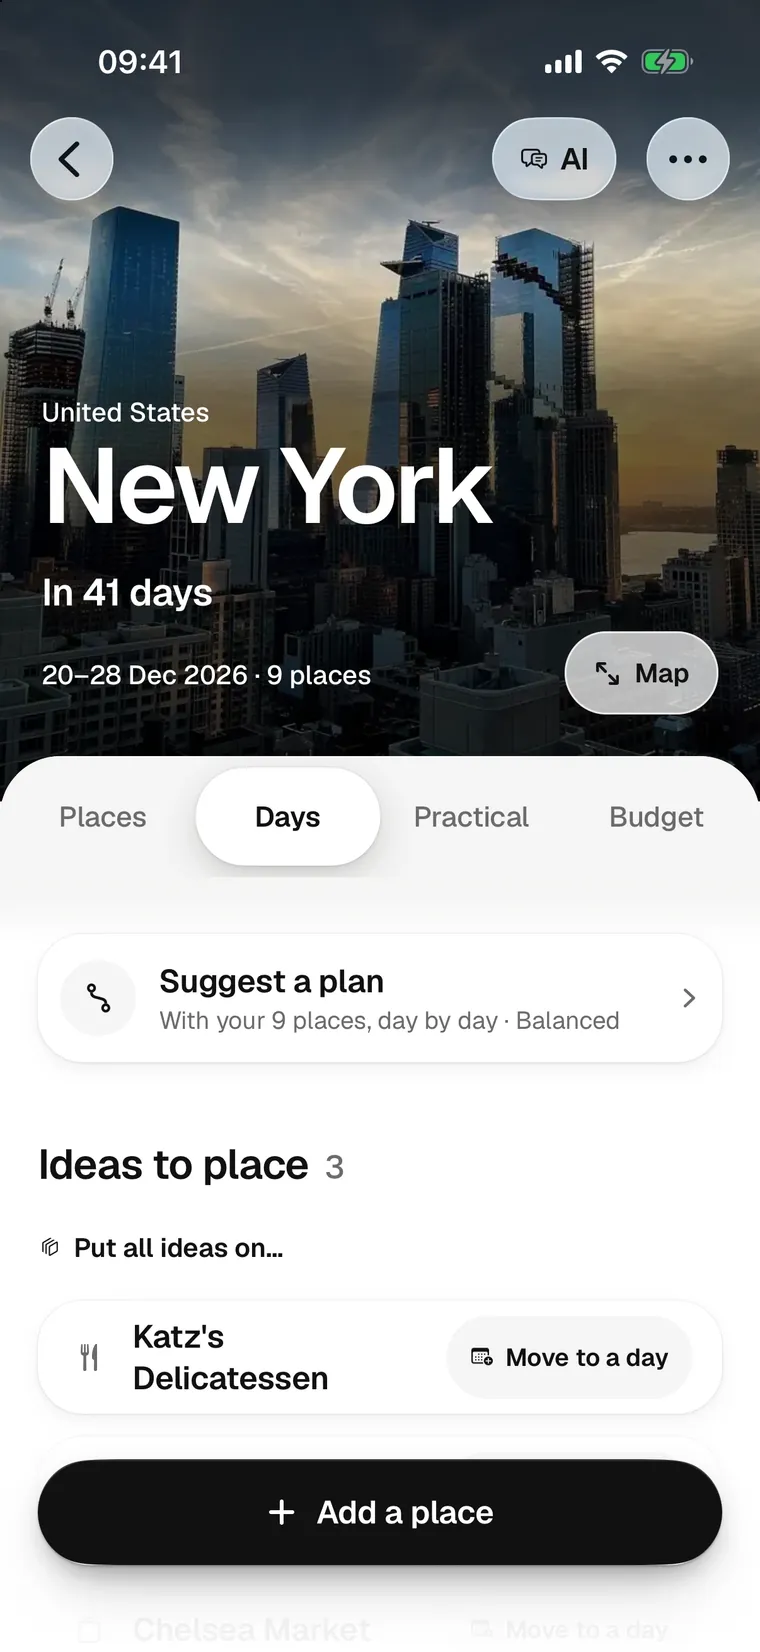
In the Days tab, tap “Move to a day” next to a place, or “Suggest a plan” and the AI spreads everything out to suit your pace. The “Map” button, at the top, shows the day and the route between your places, in the shortest order.
The AI button, at the top of the trip, answers your questions: what to do if it rains, what to eat near a place.
Step 5
The budget, with others
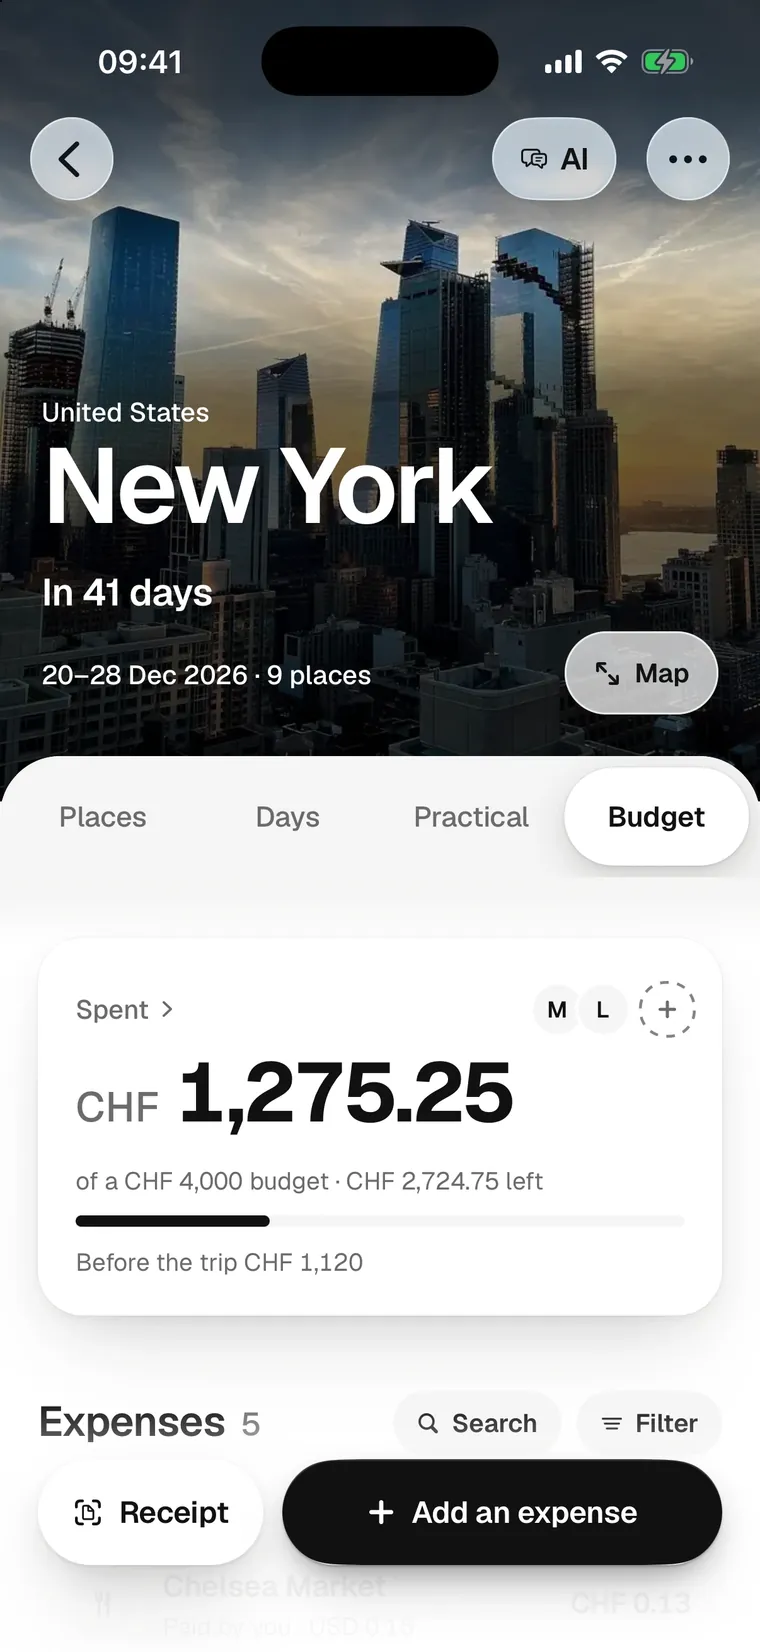
In the Budget tab, add the travellers with “+”, then tap “Add an expense” or “Receipt” and the AI reads a receipt. Travla converts every currency, shows what you have left and works out who owes what to whom.
Your bookings go in the Practical tab: “From a screenshot” reads a ticket or a confirmation for you.
Step 6
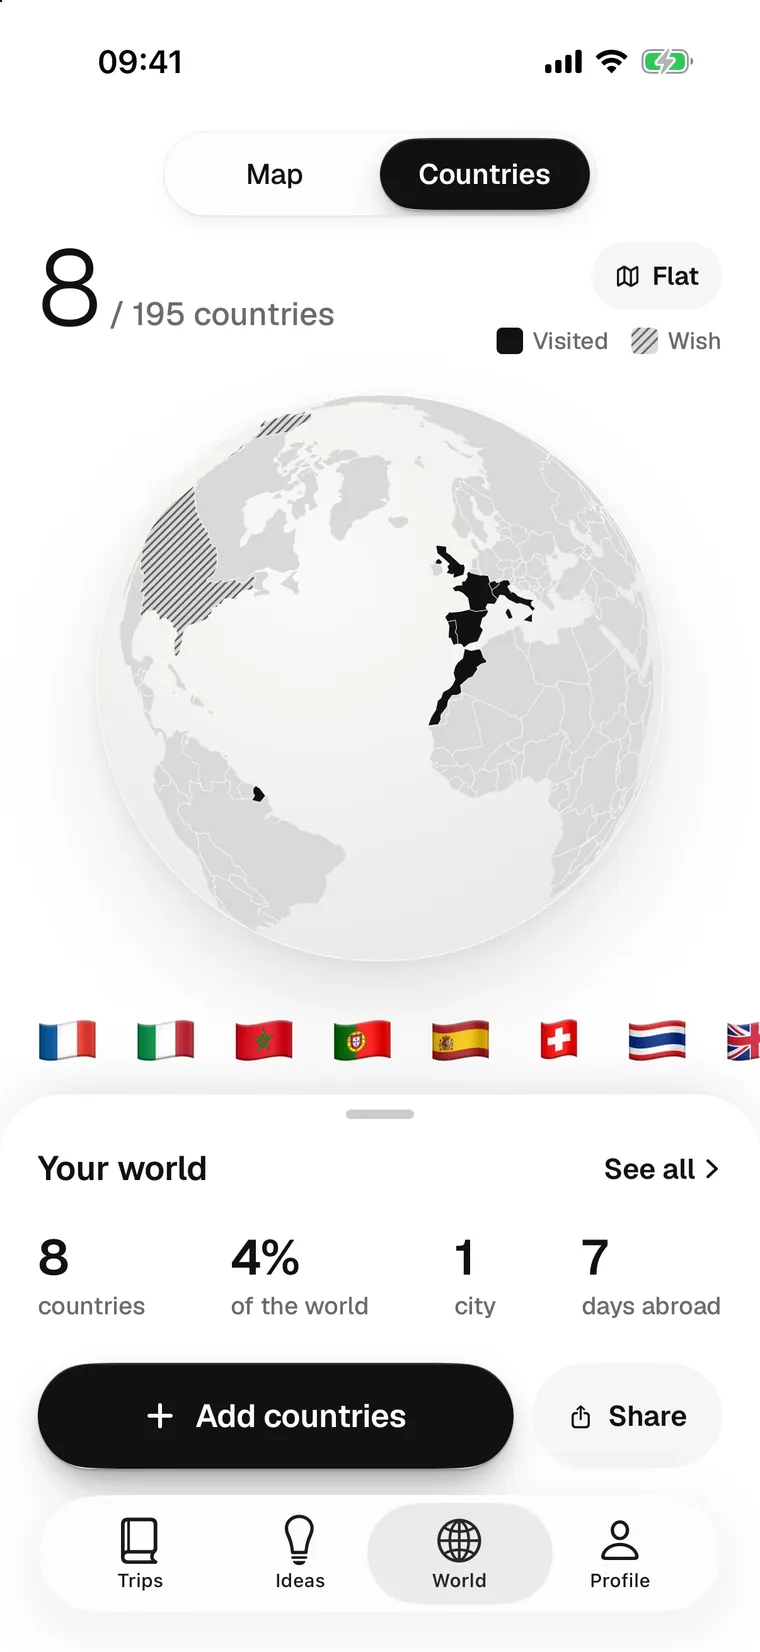
Your world, country by country
In the World tab, the countries of your trips light up on the globe. Tap “Add countries” for the ones you have already visited, then “Share” to send your map as a single image.
Open a country to see its sheet: currency, plugs, time difference and the best time to go.